Freebie SVG
3 Easy Halloween Projects You Can Start Now – Fun DIYs for a Spooky Season
3 Easy Halloween Projects to Start Now
Transform your Halloween celebration with these beginner-friendly DIY projects
Beginner friendly
SVG ready
Halloween is just around the corner, and there’s nothing quite like the satisfaction of creating your own spooky decorations and accessories. Whether you’re a crafting newbie or a seasoned DIY enthusiast, this comprehensive guide will walk you through three fantastic Halloween projects that are perfect for beginners and guaranteed to impress.
From personalized Halloween shirts that make perfect costume additions to adorable stickers for your planner or water bottle, and elegant decoration tags that add a professional touch to your Halloween treats—these projects combine creativity with practicality. The best part? Each project can be completed in under two hours and uses materials you can easily find at your local craft store or online.
Pro Tip: All these projects work beautifully with SVG cut files! Visit our Halloween SVG collection for hundreds of ready-to-use designs that will make your projects even more spectacular.
Project 1: Spooky Halloween Shirt
Why This Project Rocks
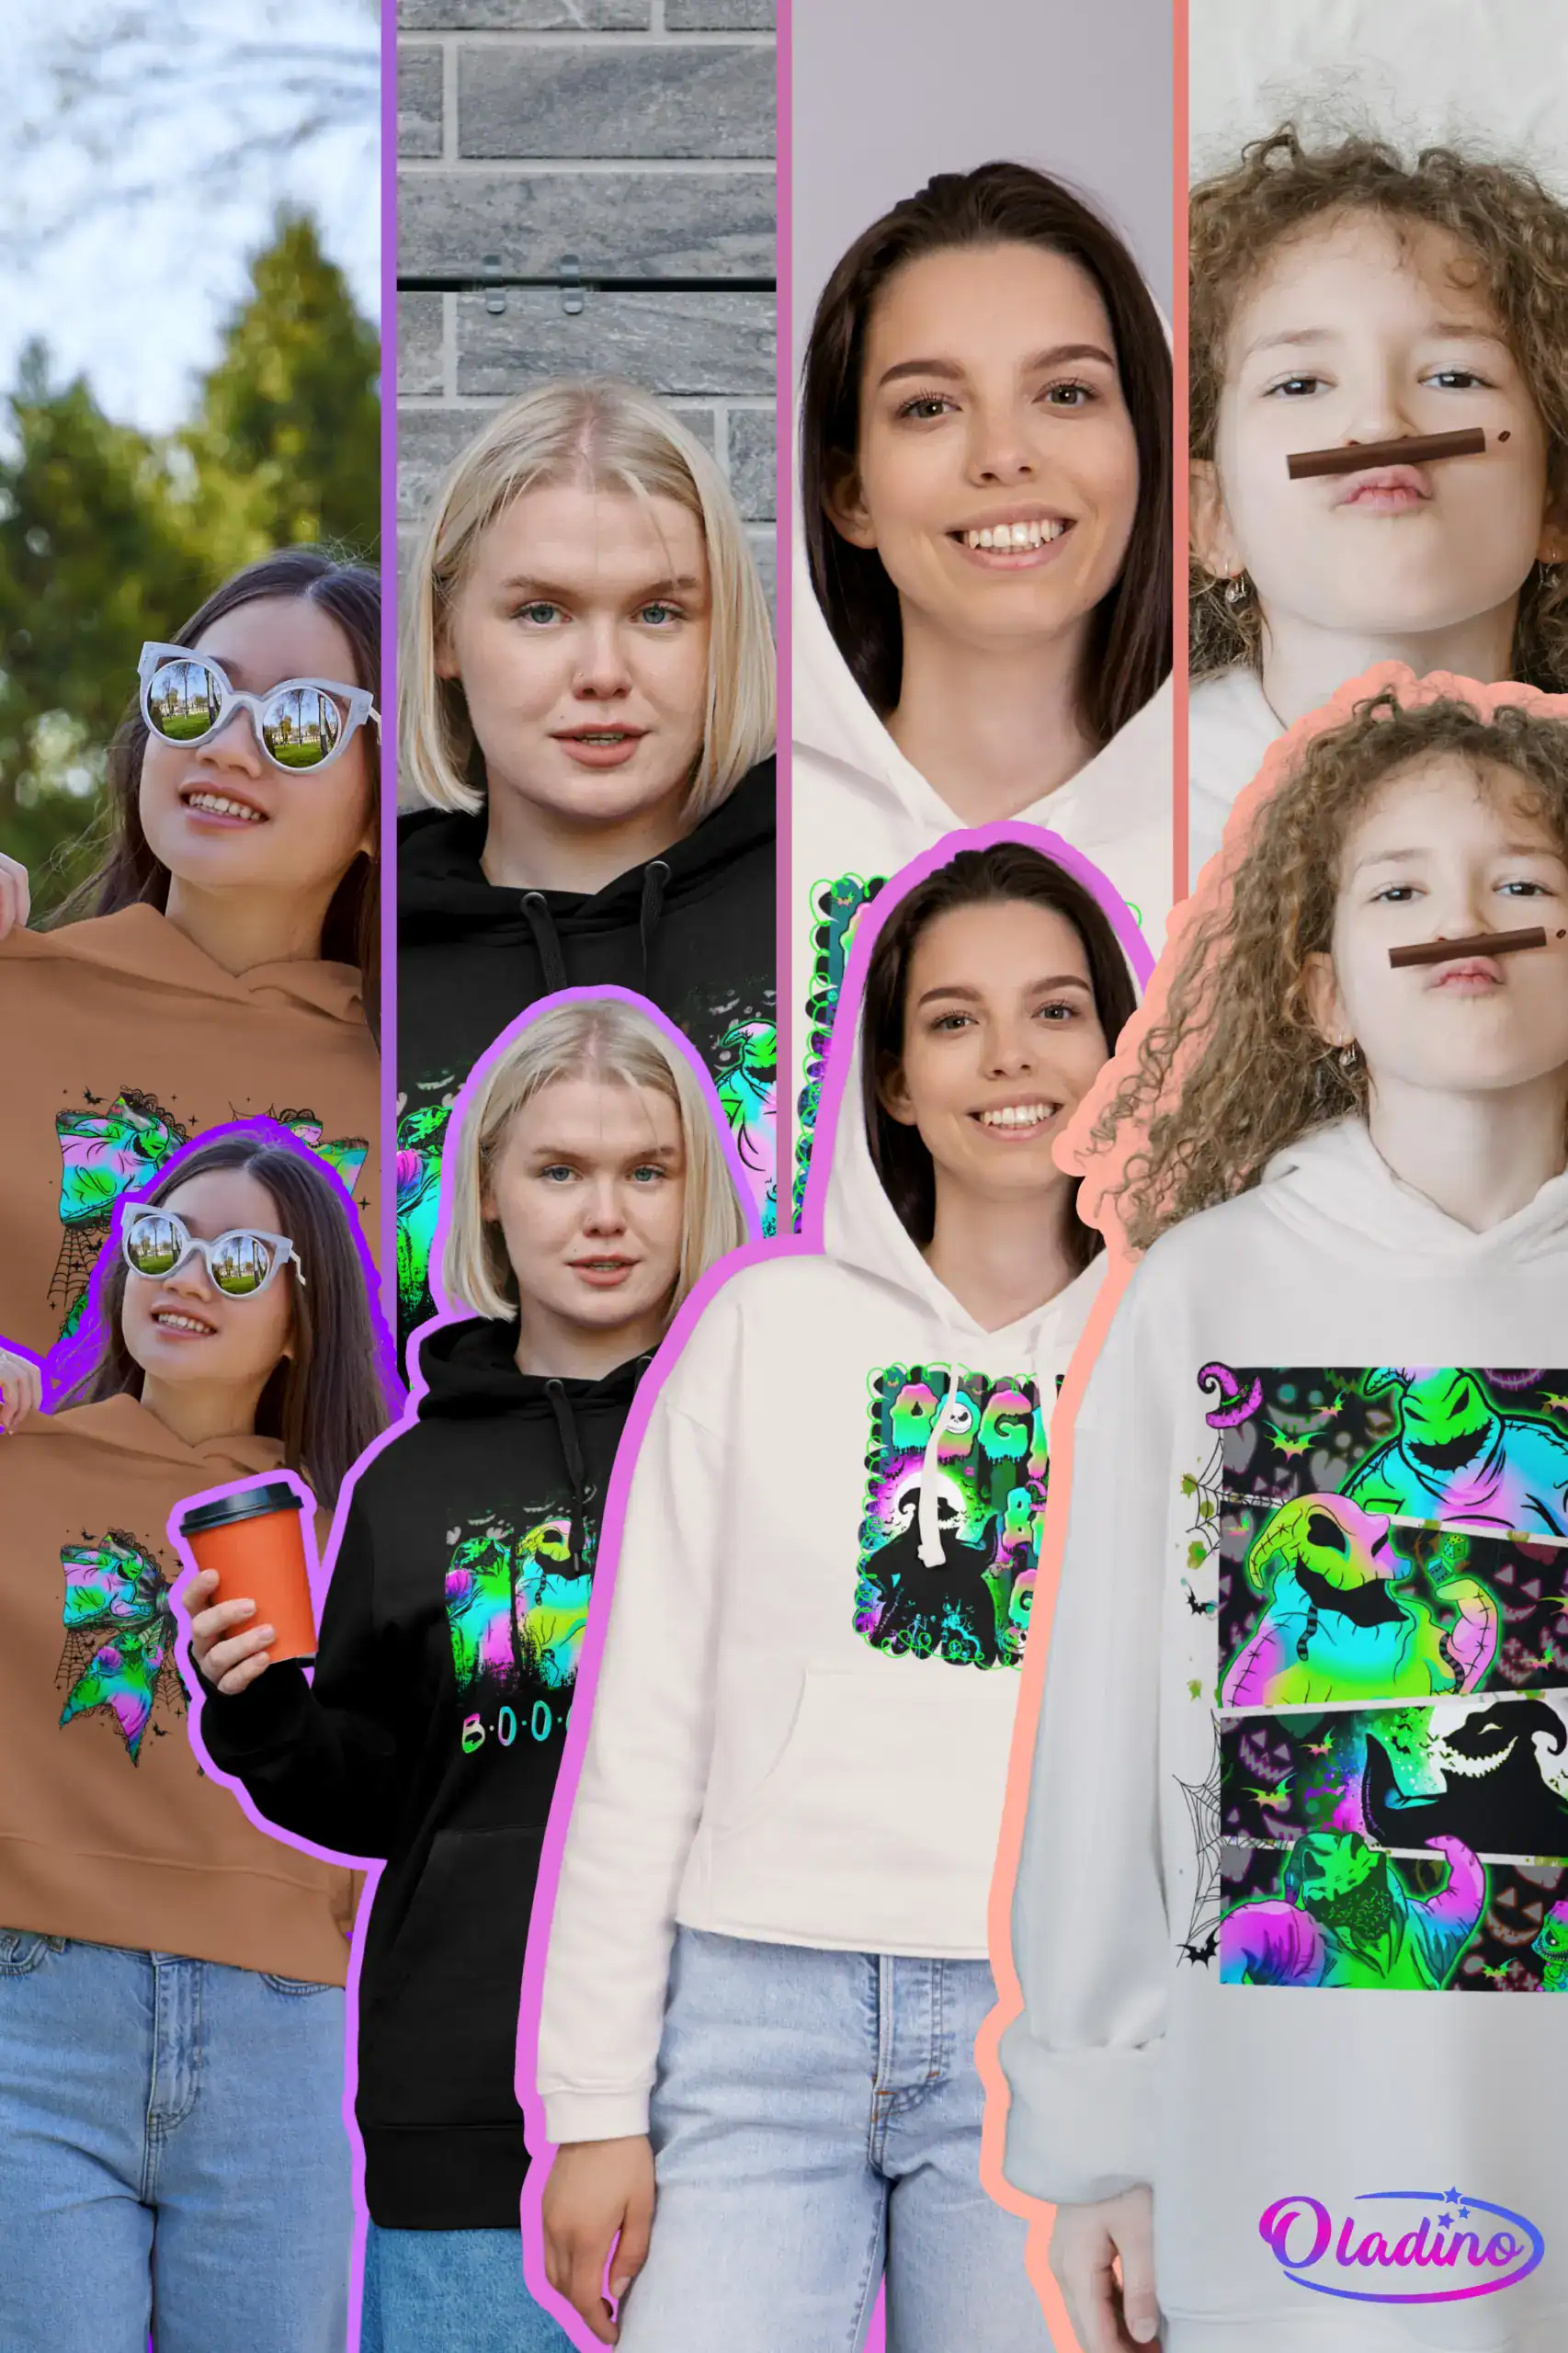
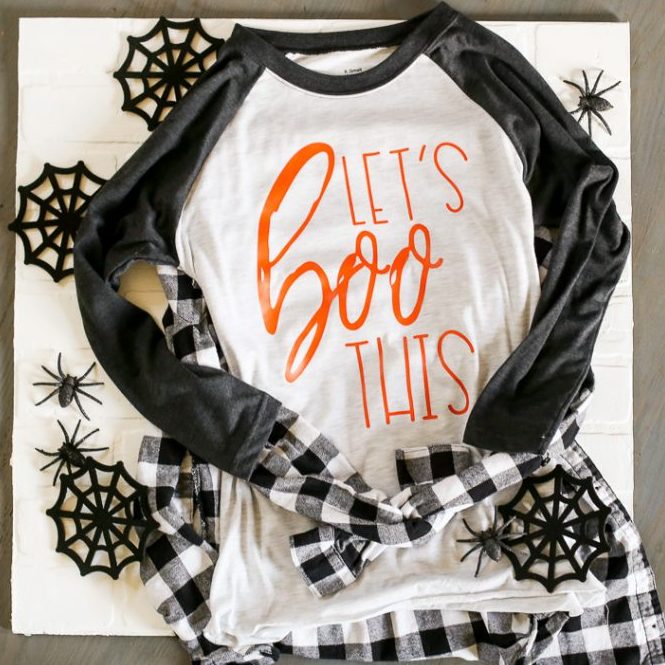
Creating your own Halloween shirt is one of the most rewarding DIY projects you can tackle. Not only do you get a unique piece of clothing that perfectly matches your style, but you also save money compared to buying expensive Halloween-themed apparel. This project is particularly perfect for families who want matching Halloween outfits or for anyone looking to add a personal touch to their costume.
Materials Needed
- Plain t-shirt (pre-washed and dried)
- Halloween iron-on patches or vinyl
- Chalk or fabric pencil
- Iron and ironing board
- Measuring tape
Step-by-Step Instructions
Prepare Your Workspace
Set up your ironing board in a well-lit area. Ensure your t-shirt is clean, dry, and wrinkle-free. According to The Crowned Goat, this preparation step is crucial for professional-looking results.
Mark Your Placement
Lay your shirt flat and measure 7-9 inches down from the left shoulder seam. This is the standard placement for most designs. Use chalk to lightly mark the position if needed.
Position Your Design
Carefully place your iron-on applique or vinyl cut-out on the marked spot. Double-check the positioning before proceeding to the next step.
Apply Heat and Pressure
Following the manufacturer’s instructions, apply the heated iron with firm, even pressure. Typically, this takes 10-15 seconds per section.
Flip and Reinforce
Turn the shirt inside out and iron the back of the applique area to ensure a strong bond. This step significantly increases durability.
Cool and Enjoy
Allow the shirt to cool completely before handling. Your custom Halloween shirt is now ready to wear!
Project 2: Custom Halloween Stickers
Perfect for Planners and More
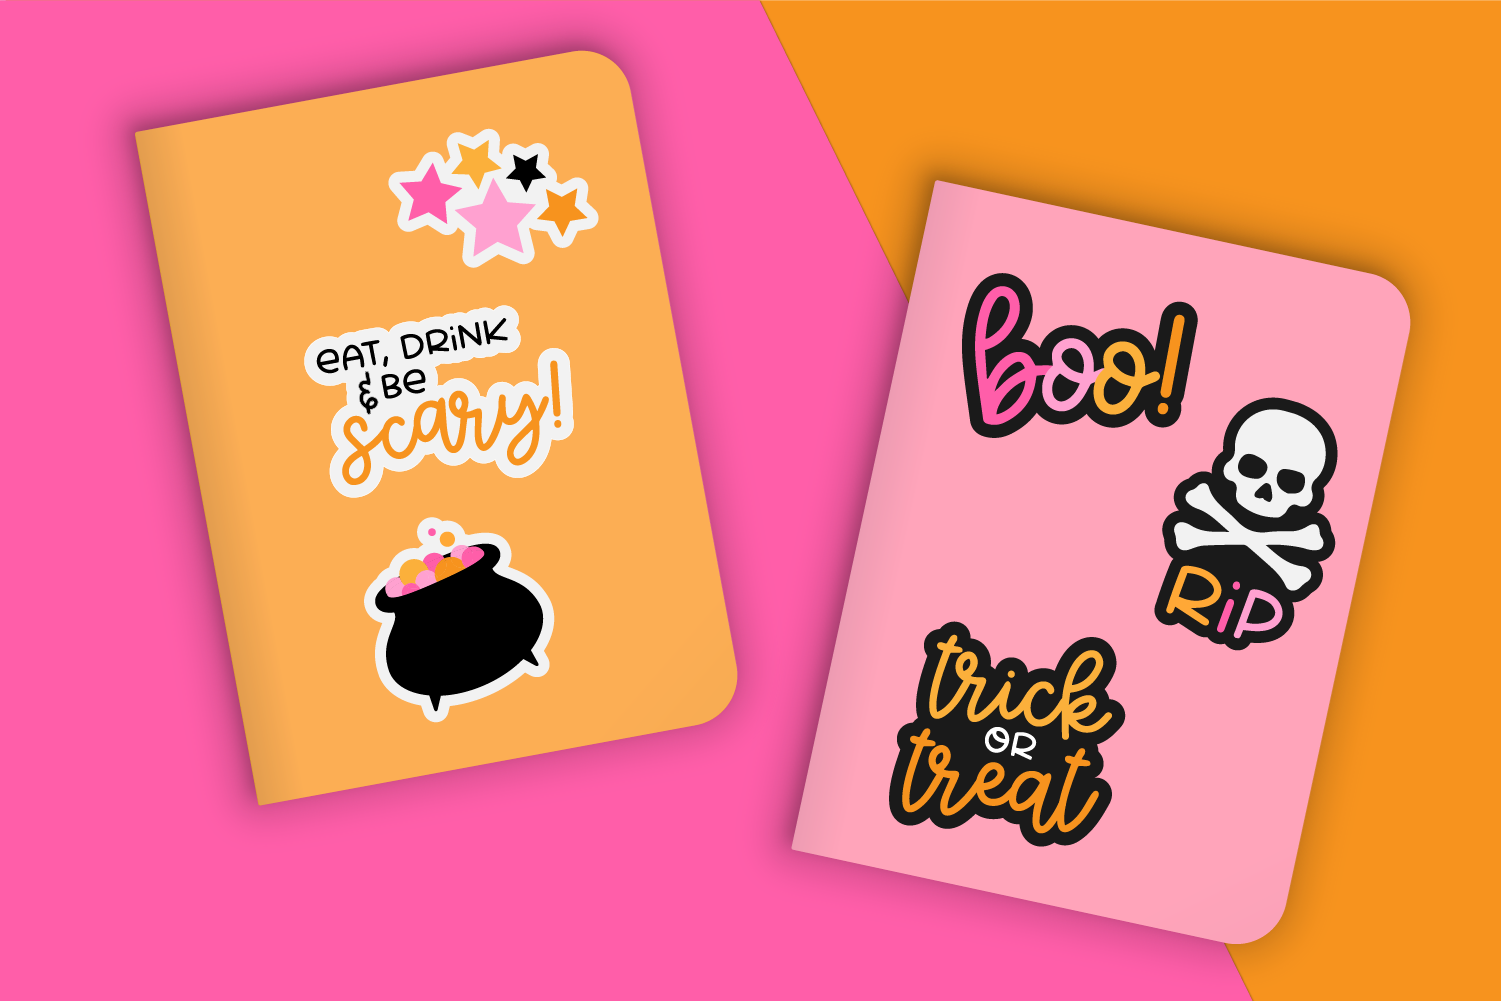
Halloween stickers are incredibly versatile and add a festive touch to everything from water bottles to laptops, planners to gift bags. According to Hey, Let’s Make Stuff, the print-then-cut method makes creating professional-looking stickers surprisingly easy, even for beginners.
Materials Needed
- Printable vinyl or sticker paper
- Colored markers or pens
- Scissors or cutting machine
- Clear adhesive tape (for handmade version)
- Halloween design templates

Two Amazing Methods
Digital Print-Then-Cut Method
- 1Design your stickers digitally or use SVG templates
- 2Print on printable vinyl using your home printer
- 3Use cutting machine to precisely cut around designs
- 4Peel and stick wherever you want!
Handmade Sticker Method
- 1Draw Halloween designs on white cardstock
- 2Color in your designs with markers
- 3Cover with clear adhesive tape
- 4Cut out and apply sticky backing
Pro Tip: For waterproof stickers, use printable vinyl and add a clear laminate layer on top. This makes them perfect for water bottles, outdoor decorations, and items that might get wet!
Project 3: Elegant Halloween Decor Tags

Add Professional Touches
Halloween decoration tags are the secret to elevating your holiday decor from homemade to professional-looking. These versatile little gems can be used as gift tags, treat bag labels, party favor additions, or even as mini garland decorations. Based on insights from Witchcrafted Life, even simple designs can create stunning visual impact when executed thoughtfully.
Materials Needed
- Black, white, orange cardstock
- Stitched edge tag dies or templates
- White gel pen and black marker
- Black ribbon or baker’s twine
- Halloween embellishments
Create Your Tag Collection
Base Layers
Cut tag shapes in different sizes – start with a base layer in black or orange, then add a slightly smaller white or patterned layer on top.
Design Elements
Add Halloween shapes like bats, pumpkins, or moons. Hand-draw stitching lines around edges for a crafted look.
Finishing Touches
Add dimensional elements with foam dots, attach ribbon hangers, and include small embellishments like lace or buttons.
Step-by-Step Process
Cut base tag shapes in your chosen colors (5 tags total recommended)
Cut slightly smaller decorative layer for each tag from patterned paper
Adhere decorative layers to base tags using adhesive
Cut white backing pieces and attach to reverse side of each tag
Add Halloween die-cuts or drawn elements to each tag
Hand-draw decorative stitching lines around edges with gel pen
Attach dimensional elements with foam dots for depth
Thread baker’s twine through holes and tie loops for hanging
Creative Uses
- Gift bag and present tags
- Treat bag labels
- Mini garland decoration
- Halloween mantel display
- Scrapbook embellishments
Design Variations
- Add metallic gold accents
- Include texture with lace or fabric
- Create themed sets (witches, pumpkins, etc.)
- Add dimensional stickers
- Hand-letter Halloween sayings
Complete Materials Shopping List
For Halloween Shirt
- Plain t-shirt ($5-15)
- Iron-on vinyl/patches ($8-12)
- Fabric chalk ($2-4)
- Iron (if needed) ($15-30)
Total Cost: $30-61
For Halloween Stickers
- Printable vinyl ($10-15)
- Colored markers ($5-10)
- Clear tape ($2-3)
- Scissors ($3-8)
Total Cost: $20-36
For Decoration Tags
- Cardstock pack ($6-10)
- Halloween papers ($5-8)
- Gel pens ($4-7)
- Baker’s twine ($3-5)
- Embellishments ($5-12)
Total Cost: $23-42
💰 Total Project Investment: $73-139
This investment will create multiple items for your Halloween celebration, plus you’ll have leftover materials for future projects. Compare this to buying similar items retail, where you’d easily spend $100+ for just one of each item!
Time Investment
4-6 hours total
Skill Level
Beginner friendly
Satisfaction Level
Extremely high!
Visualize Your Finished Projects
See the Magic Come Together
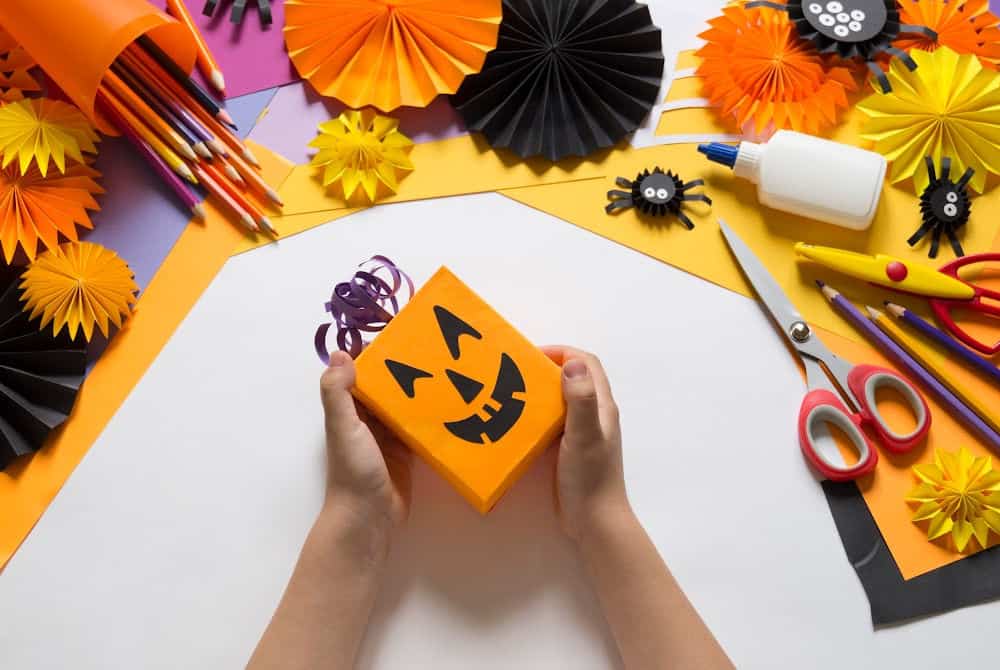
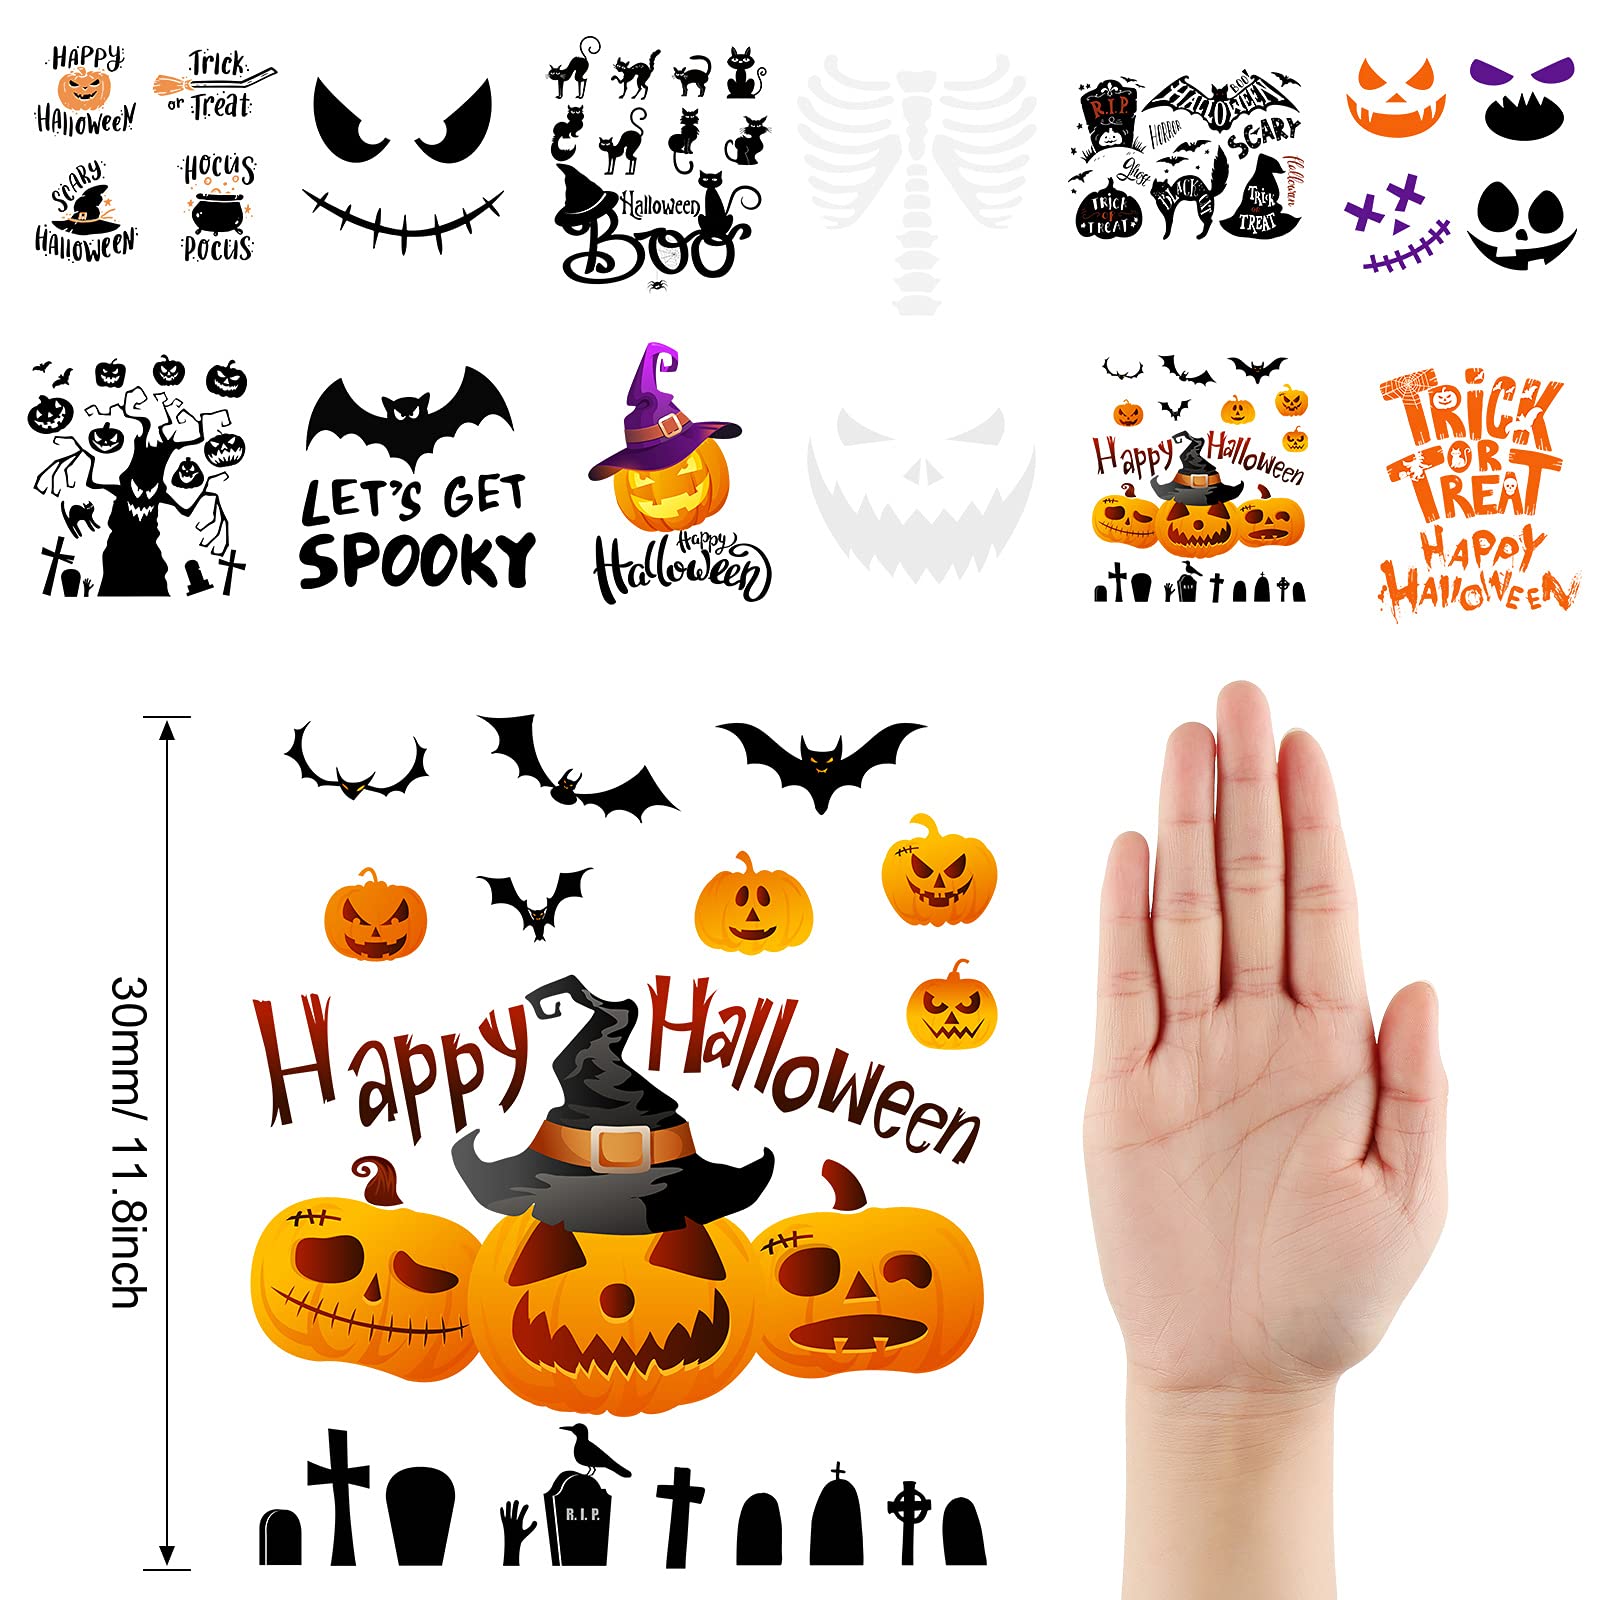
There’s something incredibly satisfying about seeing your Halloween projects come to life. The mockup images showcase exactly what you can achieve with these tutorials, giving you the confidence to dive in and start creating. Each project builds upon basic crafting skills, but the results look professionally made.
Professional-looking results every time
Perfect for beginners and experienced crafters
Endless customization possibilities
Great for group crafting sessions
Style Combinations That Work
Classic Halloween
Orange, black, and white color scheme with traditional motifs like pumpkins, bats, and ghosts
Gothic Glam
Deep purples, metallics, and blacks with sophisticated witch and moon themes
Cute & Spooky
Pink, orange, and gold with adorable Halloween characters and playful fonts
Ready to Start Your Halloween Crafting Journey?
Get access to hundreds of professional Halloween SVG designs that will make your projects even more spectacular!
🎃 What You’ll Find in Our Halloween SVG Collection
- Over 500 unique Halloween designs
- Perfect for shirts, stickers, and tags
- Commercial use licenses available
- Compatible with all cutting machines
- Instant digital downloads
- Multiple file formats included
- New designs added monthly
- 24/7 customer support
Shop Halloween SVG Collection Now
Free shipping on digital downloads • Instant access • 30-day money-back guarantee
Instant Download
Start crafting immediately after purchase
Join 50K+ Crafters
Part of our growing creative community
5-Star Rated
Thousands of happy customers
Start Creating Your Halloween Magic Today!
These three Halloween projects are just the beginning of your creative journey. Each one builds confidence and skills that you can apply to countless other crafting adventures throughout the year.
What You’ve Learned
- • How to create professional-looking iron-on shirts
- • Two different methods for making custom stickers
- • Techniques for crafting elegant decoration tags
- • Budget-friendly material sourcing strategies
- • Design principles that create cohesive collections
Next Steps
- • Gather your materials and start with one project
- • Take photos of your creations to track progress
- • Experiment with different color combinations
- • Share your projects on social media
- • Plan your next seasonal crafting series
Remember: The Magic is in the Making
Every professional crafter started as a beginner. What matters most is taking that first step, gathering your materials, and letting your creativity flow. These Halloween projects are designed to give you quick wins and build your confidence for more complex crafting adventures ahead.
Share with friends
Come back for more ideas
Happy Halloween crafting from all of us at Oladino! 🎃