
Freebie SVG
DIY Classroom Welcome Board Ideas to Brighten Your Space with Cricut & SVGs
DIY Classroom Welcome Board
Transform Your Space with SVG + Cricut Magic
For Teachers
DIY Project
Welcome to Your Creative Journey
As educators, we understand that the classroom environment plays a crucial role in student engagement and learning. The first impression your students get when they walk into your classroom sets the tone for the entire school year. A thoughtfully designed welcome board doesn’t just greet students—it creates an atmosphere of warmth, excitement, and belonging that can significantly impact their educational experience.
In today’s digital age, traditional classroom decorations are evolving. Teachers are discovering the power of combining SVG design files with Cricut cutting machines to create professional-looking, personalized classroom decor that would have been impossible to achieve with traditional methods. This revolutionary approach allows educators to produce stunning, customized welcome boards that reflect their unique teaching style and classroom personality.
“The classroom environment is the third teacher. It should be inviting, organized, and reflect the learning that takes place there.”
– Educational Philosophy
Why SVG + Cricut is Perfect for Classroom Decorations
SVG Files: Scalable Vector Graphics
SVG files are resolution-independent, meaning they can be scaled to any size without losing quality. Whether you’re creating a small name tag or a large classroom banner, SVG files maintain their crisp, professional appearance. This scalability makes them perfect for classroom projects of all sizes.
Cricut Precision Cutting
Cricut machines offer unmatched precision and versatility, capable of cutting through various materials including cardstock, vinyl, fabric, and even thin wood. This precision allows teachers to create intricate designs that would be impossible to achieve by hand.
Key Benefits for Educators
Time Efficiency
Save hours of cutting and preparation time with automated precision cutting
Cost Effective
Reuse designs year after year and create multiple pieces from single purchases
Professional Quality
Achieve store-bought quality decorations with personalized touches
Pro Tip
Start with simple designs if you’re new to Cricut. Master the basics with single-color cardstock projects before moving to more complex multi-material designs. The back-to-school SVG collection offers designs for every skill level.
Inspiration Gallery: Welcome Board Ideas
Before we dive into the step-by-step process, let’s explore some inspiring examples of DIY classroom welcome boards created using SVG files and Cricut machines. These examples showcase the versatility and professional quality achievable with this approach.
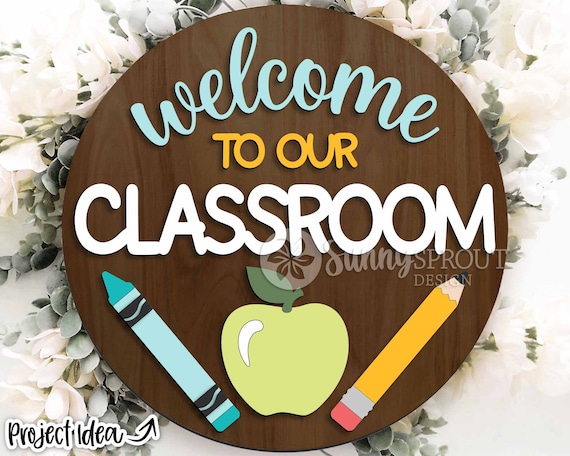
Classic Chalkboard Style
Perfect for traditional classroom aesthetics with modern precision cutting
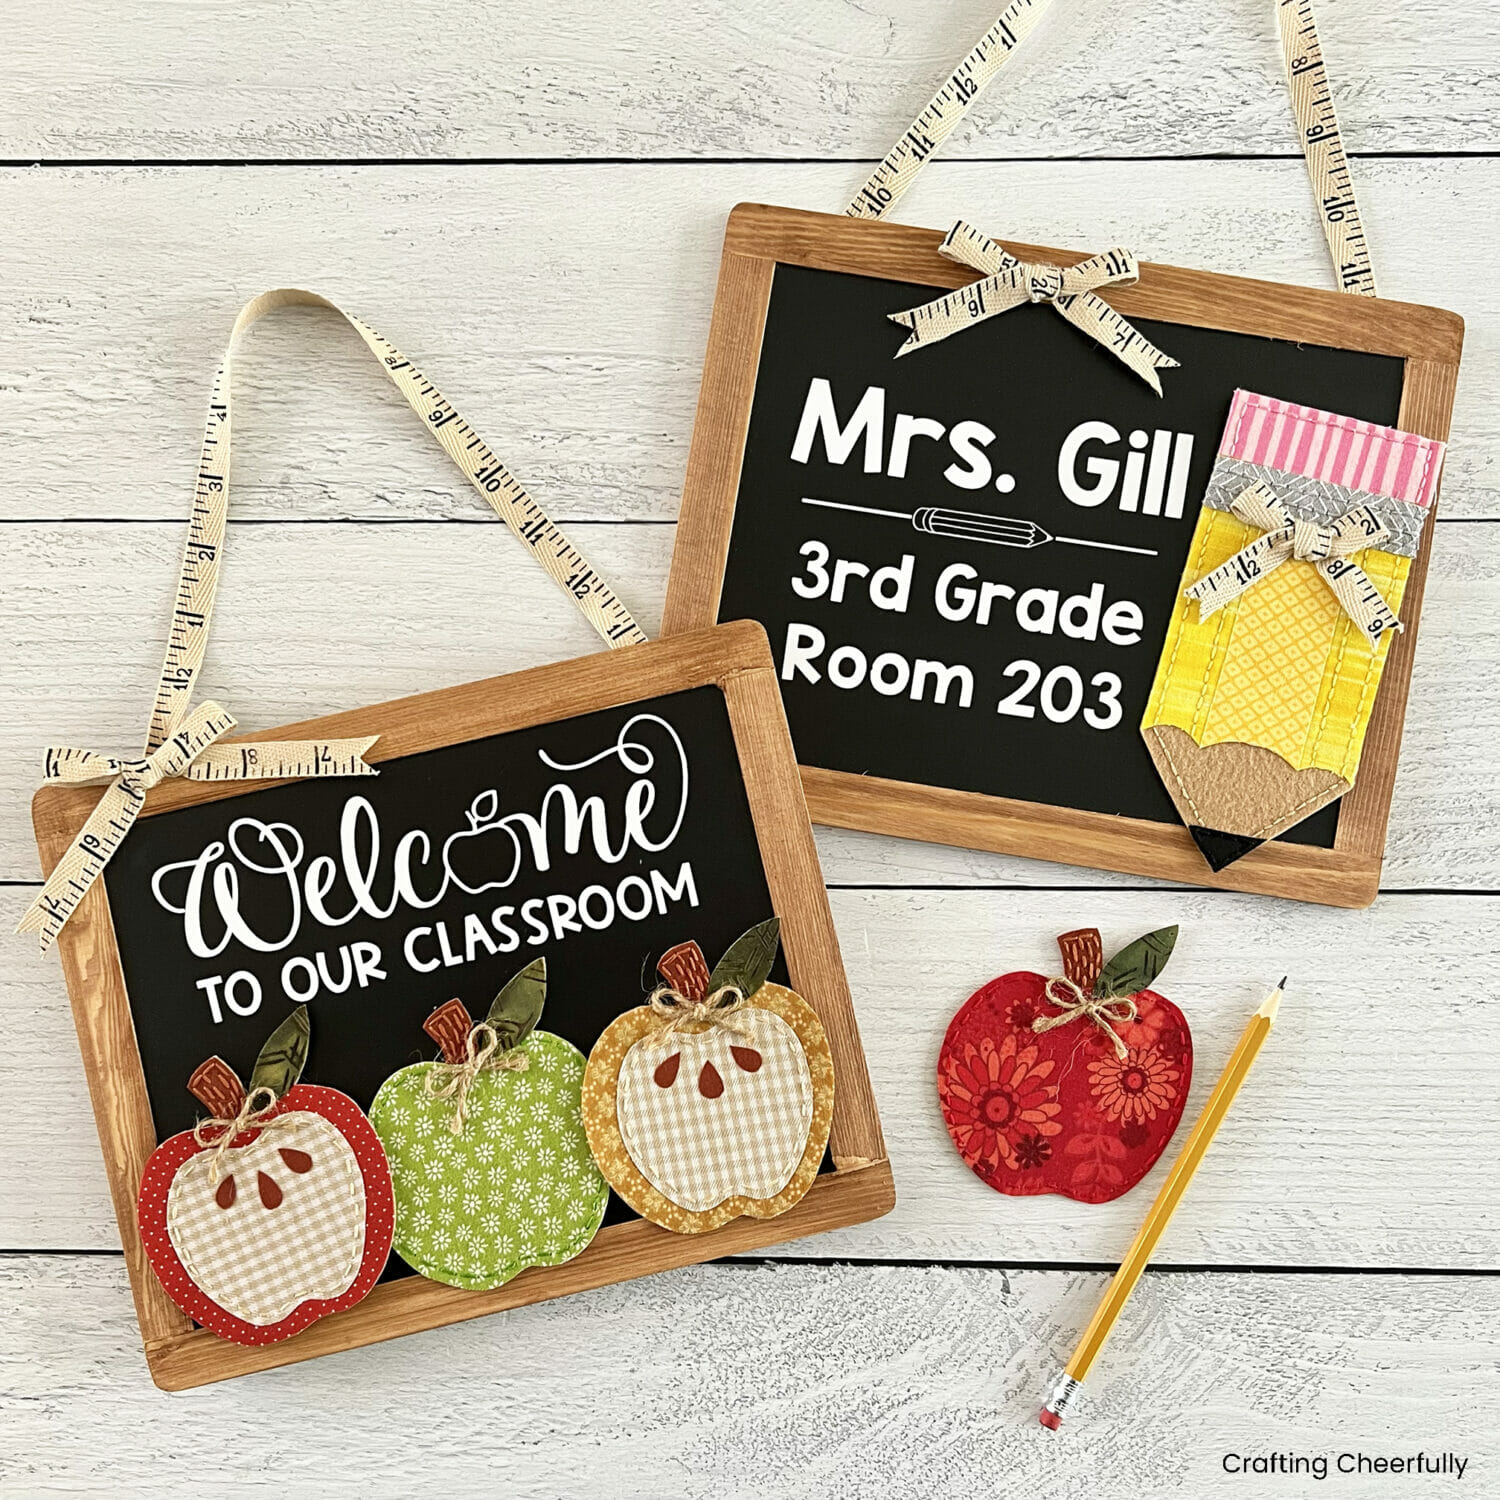
Multiple Sign Collection
Create a cohesive look with matching design elements throughout your classroom

Values-Based Welcome
Incorporate your classroom values and expectations into your welcome design

Colorful and Vibrant
Use bright colors and playful fonts to create an energetic classroom atmosphere

Personalized Teacher Signs
Add your name and teaching grade for a personal touch that students will remember
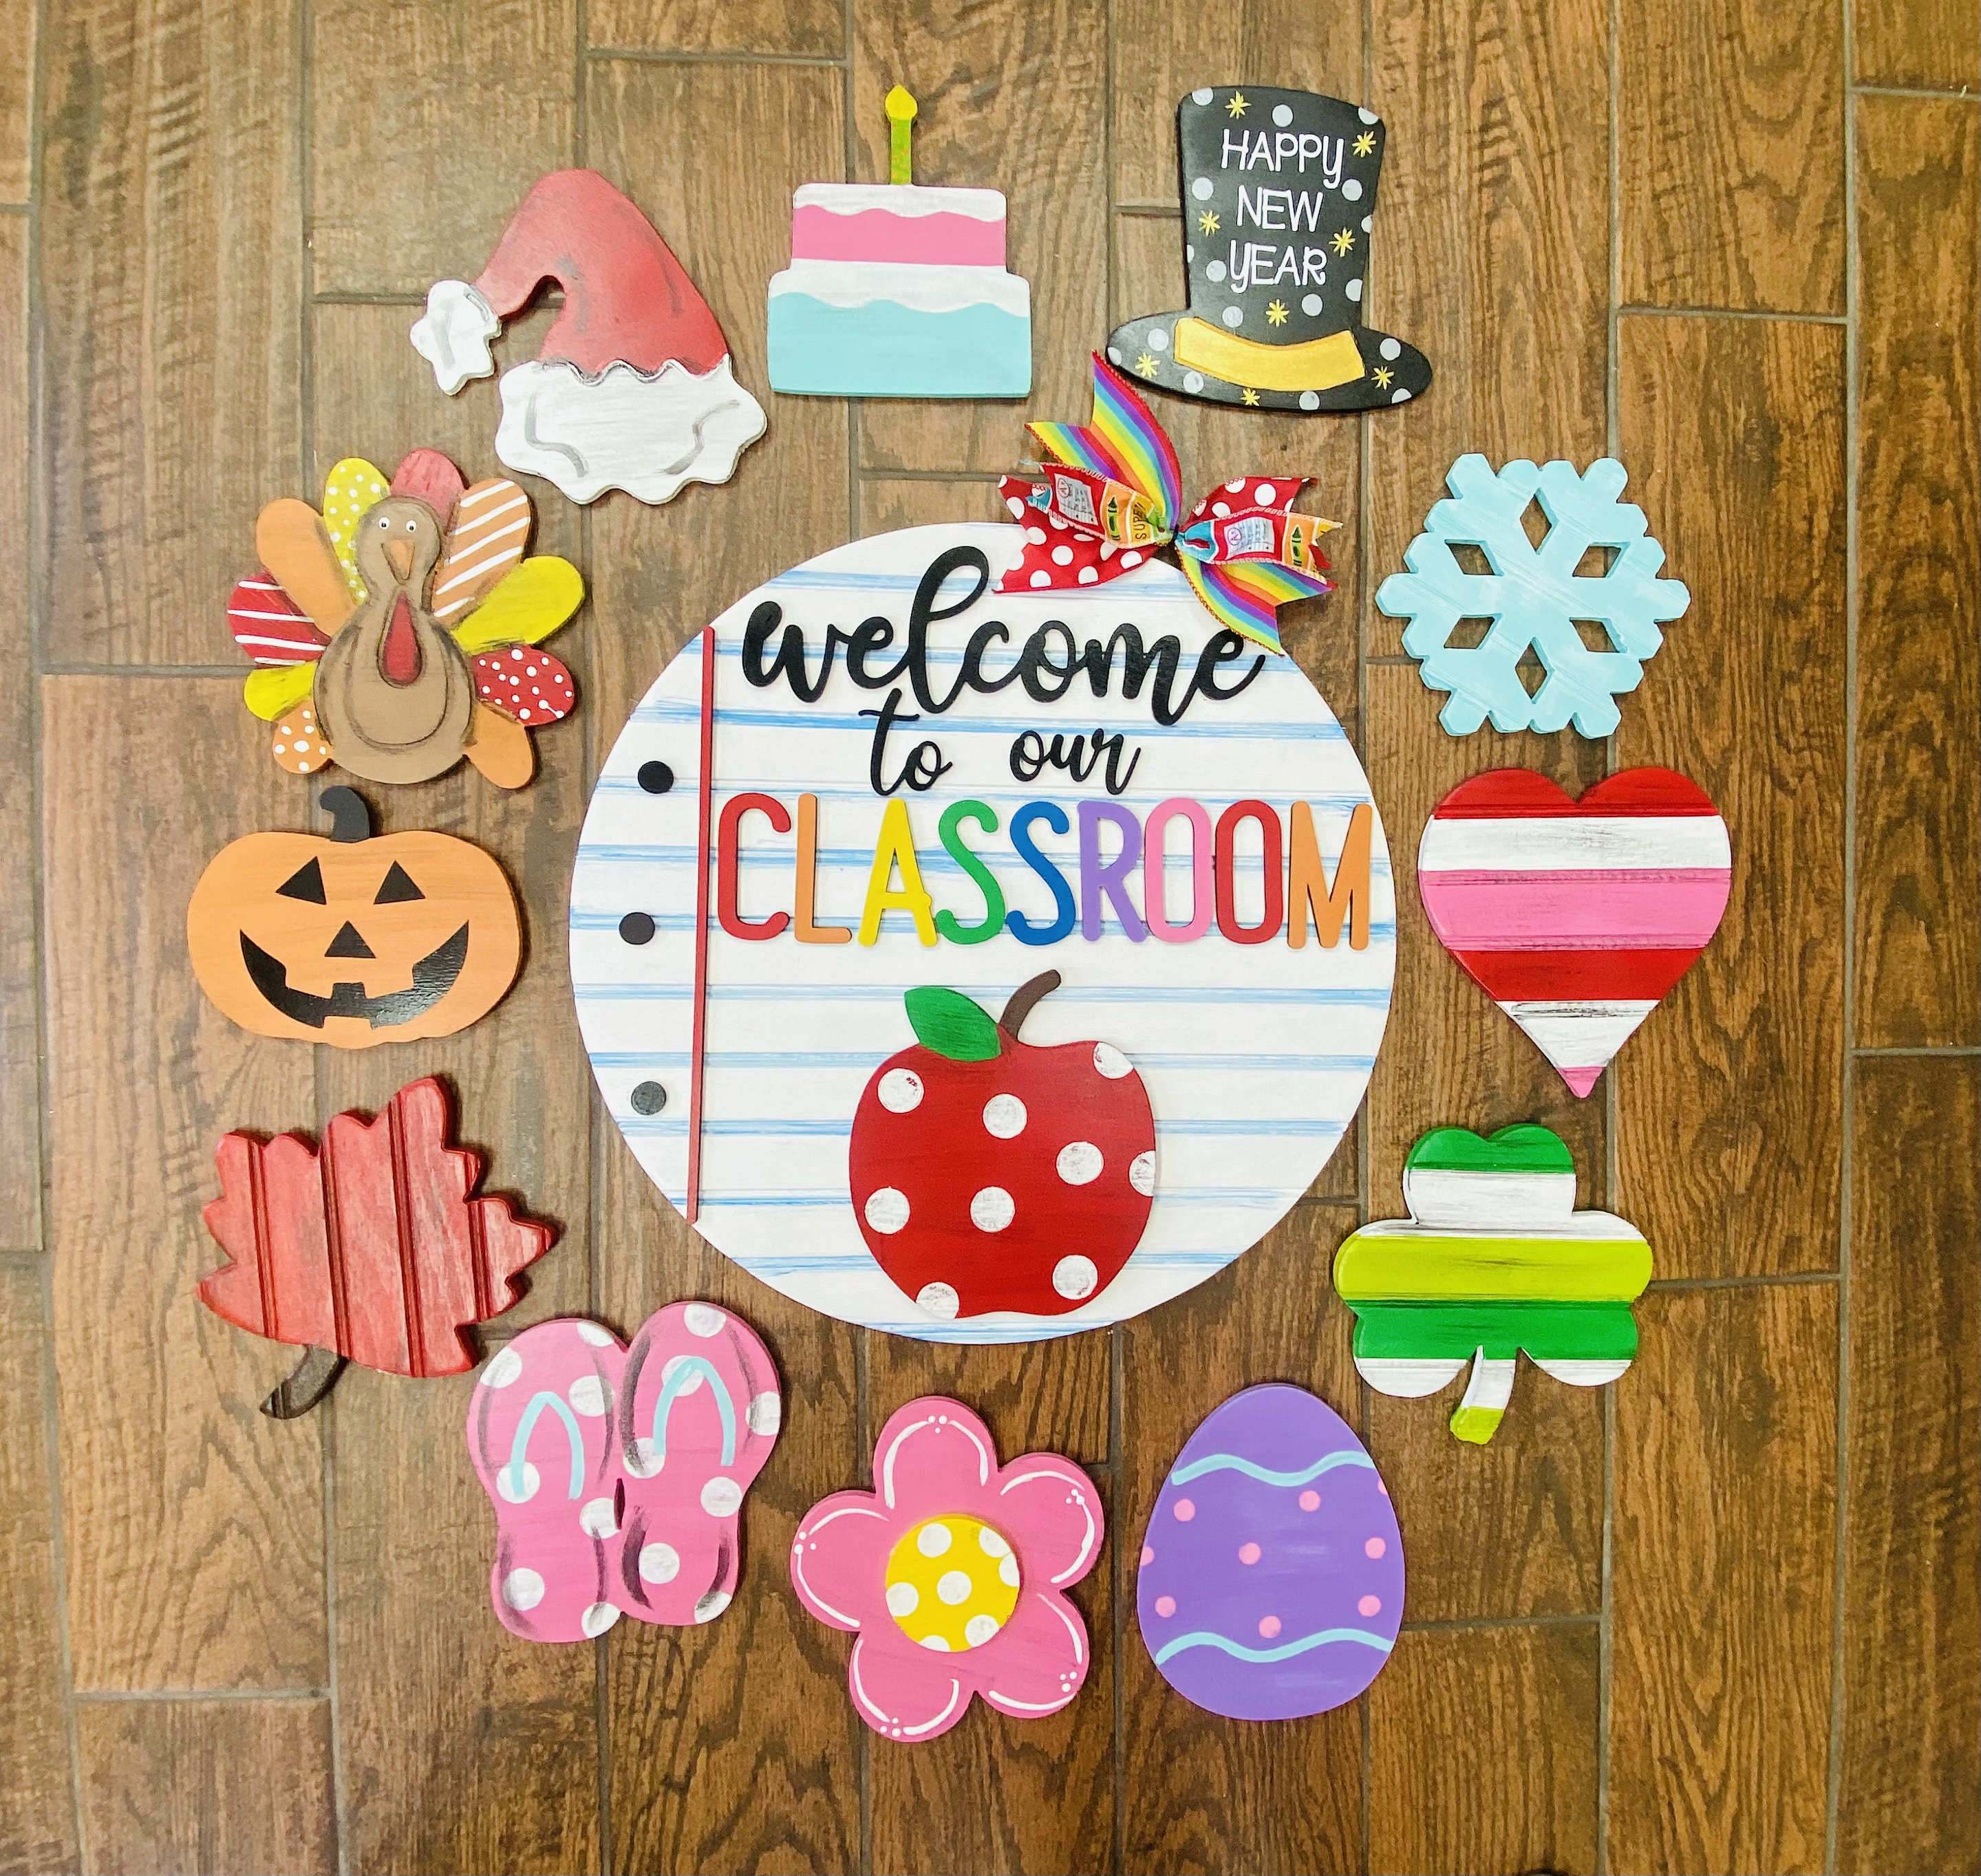
Interchangeable Elements
Create boards with removable elements that can be updated throughout the year
Essential Materials and Tools
Required Equipment
-
Cricut Machine: Any Cricut model (Explore series or Maker series) will work perfectly for classroom projects -
Computer or Tablet: For accessing Cricut Design Space and downloading SVG files -
Cutting Mats: Standard grip for cardstock, strong grip for thicker materials -
Weeding Tools: For removing excess material from intricate cuts -
Scoring Tool: For creating clean fold lines on dimensional projects
Materials Selection
Cardstock Options
Choose 65-80 lb cardstock for durability. Consider:
- • Bright colors: Yellow, orange, red for energy
- • Calming tones: Blues, greens for focus
- • Neutrals: Beige, gray for versatility
Specialty Materials
- • Vinyl: For weather-resistant outdoor signs
- • Foil transfer: For elegant, eye-catching accents
- • Fabric: For bulletin board backgrounds
- • Cork sheets: For functional notice areas
Where to Find Quality SVG Files
While there are many sources for SVG files, it’s important to choose designs that are specifically crafted for classroom use. The Oladino back-to-school SVG collection offers teacher-focused designs that are tested for Cricut compatibility and include multiple file formats for maximum versatility.
Instant Download
Multiple Formats
Teacher-Designed
Step-by-Step Tutorial: Creating Your Welcome Board
Design Selection and Preparation
Begin by browsing the extensive collection of back-to-school SVG designs to find the perfect welcome board template for your classroom. Consider your classroom’s color scheme, grade level, and personal teaching style when making your selection.
Key Considerations:
- • Size requirements: Measure your intended display area
- • Complexity level: Choose designs matching your Cricut experience
- • Customization needs: Look for designs with editable text elements
- • Material compatibility: Ensure the design works with your chosen materials
Setting Up Cricut Design Space
Download and install Cricut Design Space on your computer or tablet. This free software is essential for preparing your SVG files for cutting. Create an account if you don’t already have one, and familiarize yourself with the interface.
Uploading Your SVG:
- 1. Click “Upload” in the left panel
- 2. Select “Upload Image”
- 3. Choose your SVG file
- 4. Select “Complex” for detailed designs
- 5. Click “Save” to add to your library
Customization Options:
- • Resize elements proportionally
- • Change text to match your name/grade
- • Adjust colors for your materials
- • Duplicate elements for multiple copies
Material Preparation and Cutting
Proper material preparation is crucial for achieving professional results. This step involves selecting the right cutting mat, positioning your material correctly, and ensuring your Cricut machine is properly calibrated.
Material Placement Tips:
- • Use the brayer tool to smooth cardstock onto the mat
- • Ensure no air bubbles are trapped under the material
- • Leave at least 1/4 inch border around your design
- • Check that material edges are perfectly aligned
Cutting Process:
Select “Make It” in Design Space, choose your material type from the settings dial, and load your mat. The machine will automatically adjust pressure and speed for optimal cutting. Always perform a test cut on scrap material first.
Weeding and Assembly
Weeding is the process of removing excess material from your cut design. This step requires patience and precision, especially for intricate designs with small details. Use the weeding tool to carefully remove unwanted pieces while preserving the design integrity.
Weeding Techniques:
- • Start with larger pieces before small details
- • Use the weeding tool at a 45-degree angle
- • Work in good lighting to see fine details
- • Keep cut pieces organized by color
Assembly Tips:
- • Use temporary adhesive for positioning
- • Work from background to foreground
- • Apply even pressure when adhering
- • Allow time for adhesive to set
Finishing Touches and Installation
The final step involves adding protective finishes, mounting your welcome board, and ensuring it’s properly displayed in your classroom. Consider factors like visibility, durability, and accessibility when choosing the installation location.
Installation Considerations:
- • Height: Position at student eye level for maximum impact
- • Lighting: Ensure adequate lighting for visibility
- • Protection: Consider lamination for high-traffic areas
- • Accessibility: Keep important information easily readable
Creative Customization Ideas
Seasonal Adaptations
Create interchangeable elements that can be swapped out throughout the school year. Design seasonal borders, changeable month indicators, or modular components that reflect holidays and special events.
Seasonal Ideas:
- • Fall: Leaves, pumpkins, harvest themes
- • Winter: Snowflakes, mittens, cozy elements
- • Spring: Flowers, butterflies, growth themes
- • Summer: Beach, sunshine, vacation vibes
Interactive Elements
Incorporate interactive components that engage students and make your welcome board functional as well as decorative. Consider pocket holders, rotating wheels, or lift-the-flap sections.
Interactive Features:
- • Student name pockets for daily helpers
- • Weather wheel for morning meetings
- • Behavior tracking charts
- • Goal-setting flip cards
Advanced Techniques
Layering Effects
Create depth with multiple cardstock layers and foam mounting
Color Gradients
Use ombre effects with multiple shades of the same color
Metallic Accents
Add foil transfer or metallic cardstock for premium appeal
Material and Supply Showcase
Explore the variety of materials and supplies that can enhance your DIY classroom welcome board projects. From basic cardstock to specialty materials, each option offers unique possibilities for creativity.
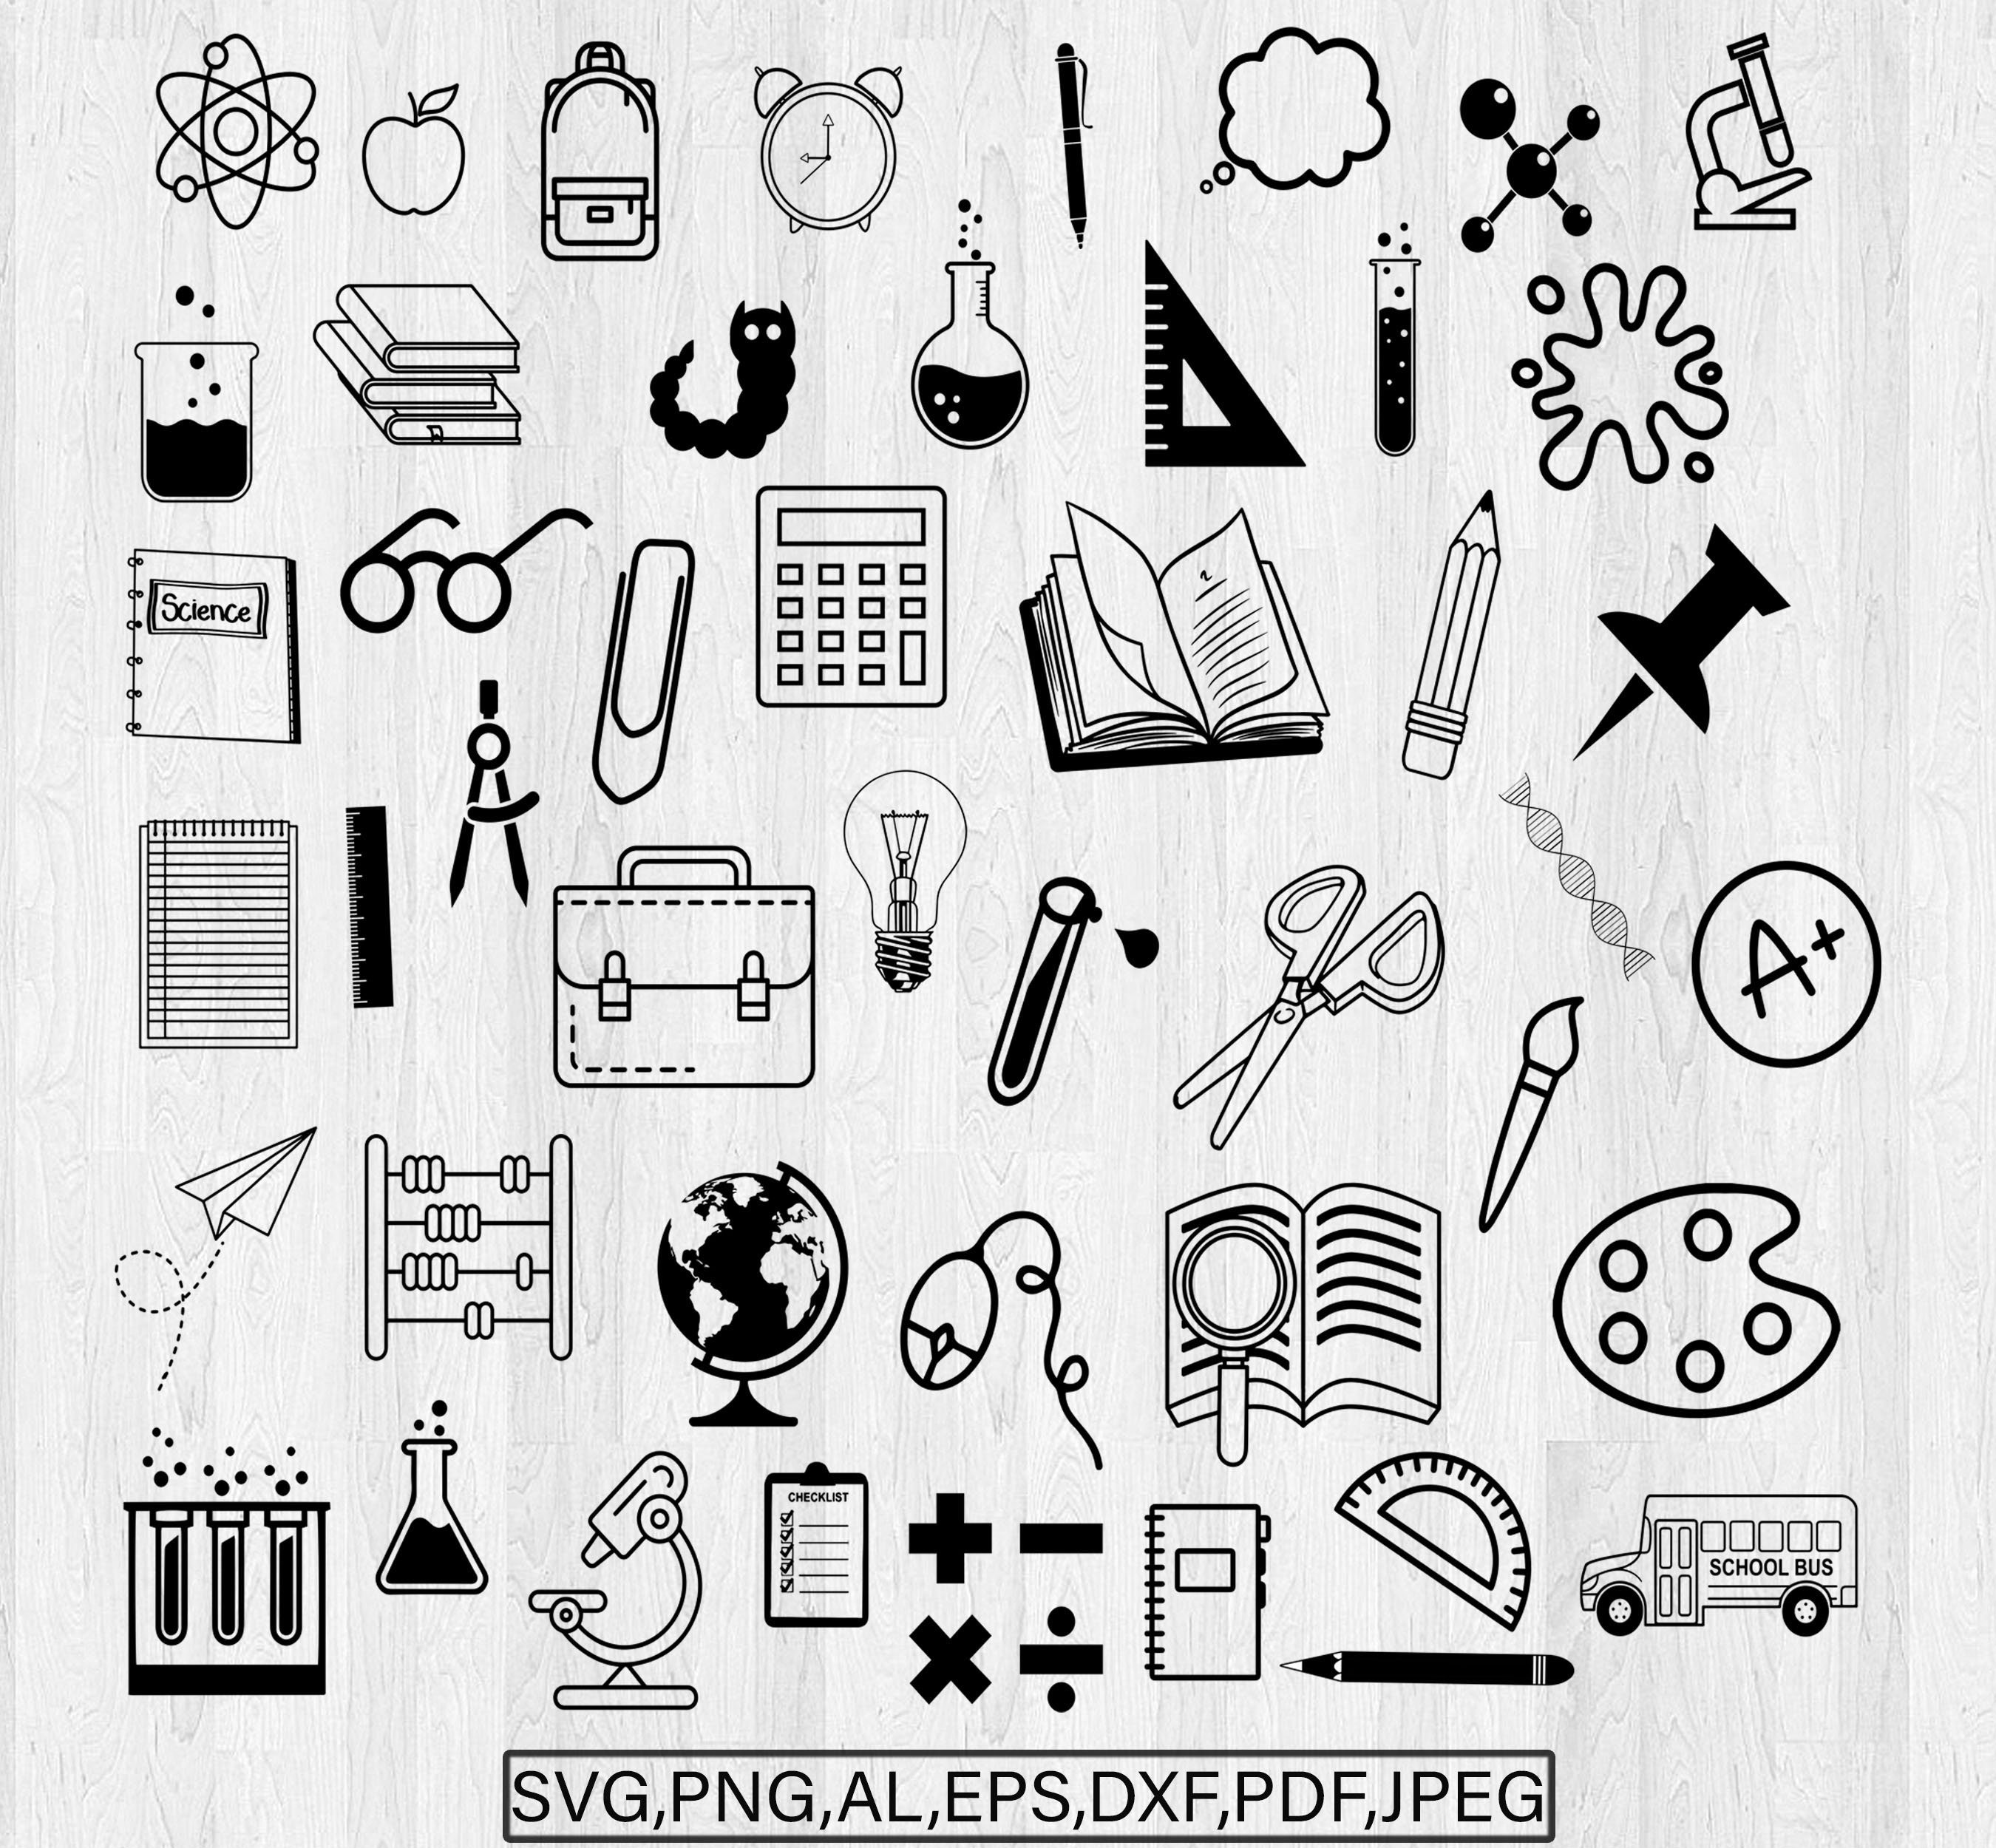
SVG Bundle Collections
Comprehensive sets of coordinating designs for cohesive classroom themes

Functional Organizers
Combine welcome boards with practical storage solutions
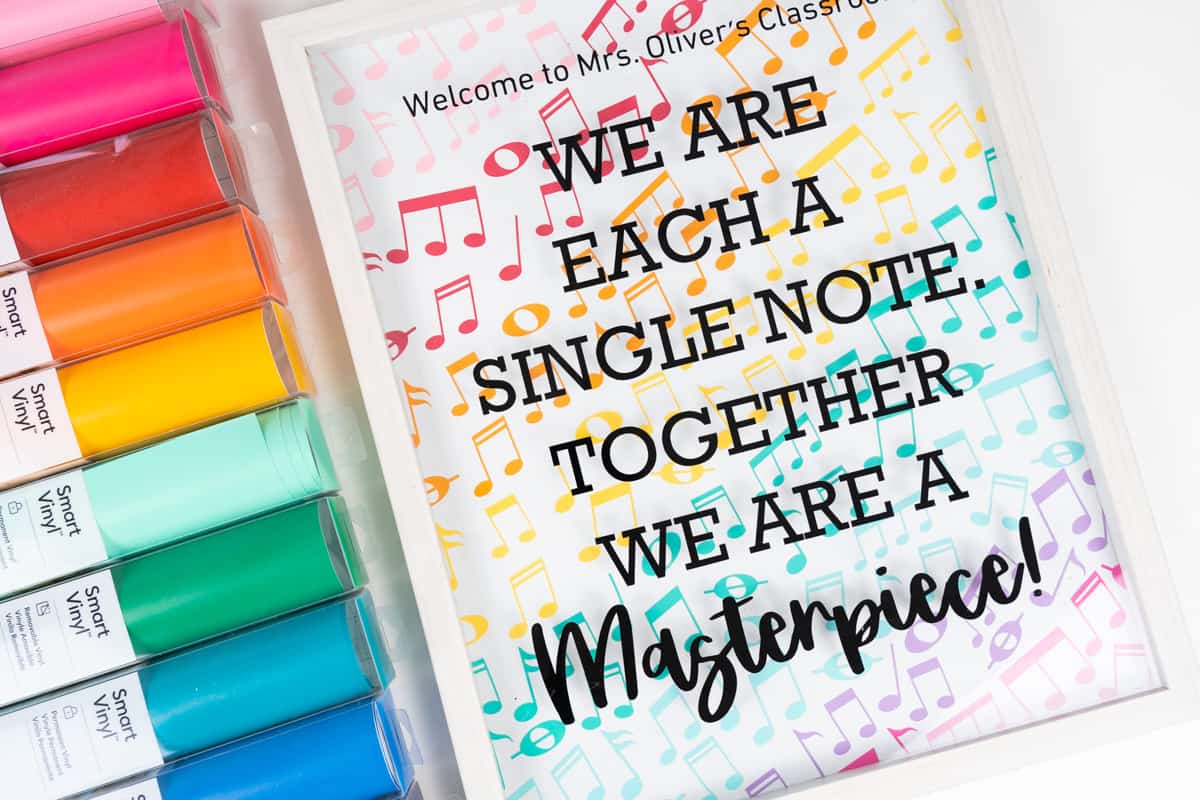
Subject-Specific Designs
Tailor your welcome board to specific subjects like music, art, or science
Troubleshooting Common Issues
Cutting Problems
Issue: Incomplete Cuts
- • Check blade depth and sharpness
- • Ensure proper material setting
- • Verify cutting mat adhesion
- • Perform test cuts first
Issue: Tearing or Rough Edges
- • Replace dull blades immediately
- • Reduce cutting pressure
- • Use fresh cutting mat
- • Check material compatibility
SVG File Issues
Issue: File Won’t Upload
- • Verify file format is .svg
- • Check file size limits
- • Ensure stable internet connection
- • Try uploading from different browser
Issue: Design Appears Distorted
- • Maintain aspect ratio when resizing
- • Use “Complex” image type for detailed designs
- • Check original SVG quality
- • Adjust design space zoom level
Assembly Challenges
Issue: Adhesive Not Holding
- • Clean surfaces before adhering
- • Use appropriate adhesive type
- • Apply even pressure when mounting
- • Allow proper curing time
Issue: Alignment Problems
- • Use ruler guides for straight lines
- • Mark reference points lightly
- • Work in good lighting conditions
- • Use temporary positioning aids
Building a Creative Community
Share Your Creations
The teaching community thrives on sharing ideas and supporting one another. When you create something amazing with your SVG files and Cricut machine, don’t keep it to yourself! Sharing your work inspires other educators and contributes to a vibrant creative community.
Sharing Platforms:
- • Social media groups for teachers
- • Pinterest boards for classroom decor
- • School district resource sharing
- • Teaching blogs and websites
Learn from Others
The best way to improve your DIY skills is to learn from other creative educators. Study their techniques, ask questions, and don’t be afraid to try new approaches. Every teacher has unique insights that can enhance your own projects.
Learning Resources:
- • Online tutorials and YouTube channels
- • Local crafting workshops
- • Teacher training conferences
- • Peer collaboration sessions
Join the Creative Movement
Transform your classroom into an inspiring learning environment that reflects your passion for education. With the right tools, quality SVG designs, and creative vision, you can create welcome boards that not only greet students but also set the tone for an entire year of learning and growth.
Your Creative Journey Starts Here
Creating a DIY classroom welcome board using SVG files and Cricut technology is more than just a craft project—it’s an investment in your students’ educational experience and your own professional growth. The skills you develop through this process will serve you throughout your teaching career, enabling you to create personalized, engaging classroom environments that inspire learning and foster creativity.
Remember that every expert was once a beginner. Start with simple projects, build your confidence, and gradually take on more complex designs. The comprehensive SVG collection at Oladino provides designs for every skill level, ensuring you’ll find the perfect starting point for your creative journey.
Most importantly, enjoy the process! The satisfaction of creating something beautiful and functional with your own hands is immeasurable. Your students will notice the care and creativity you put into their learning environment, and that positive impact will ripple through your entire classroom community.
Ready to Get Started?
Discover hundreds of teacher-designed SVG files perfect for classroom decoration and organization. From welcome boards to bulletin board elements, find everything you need to create an inspiring learning environment.